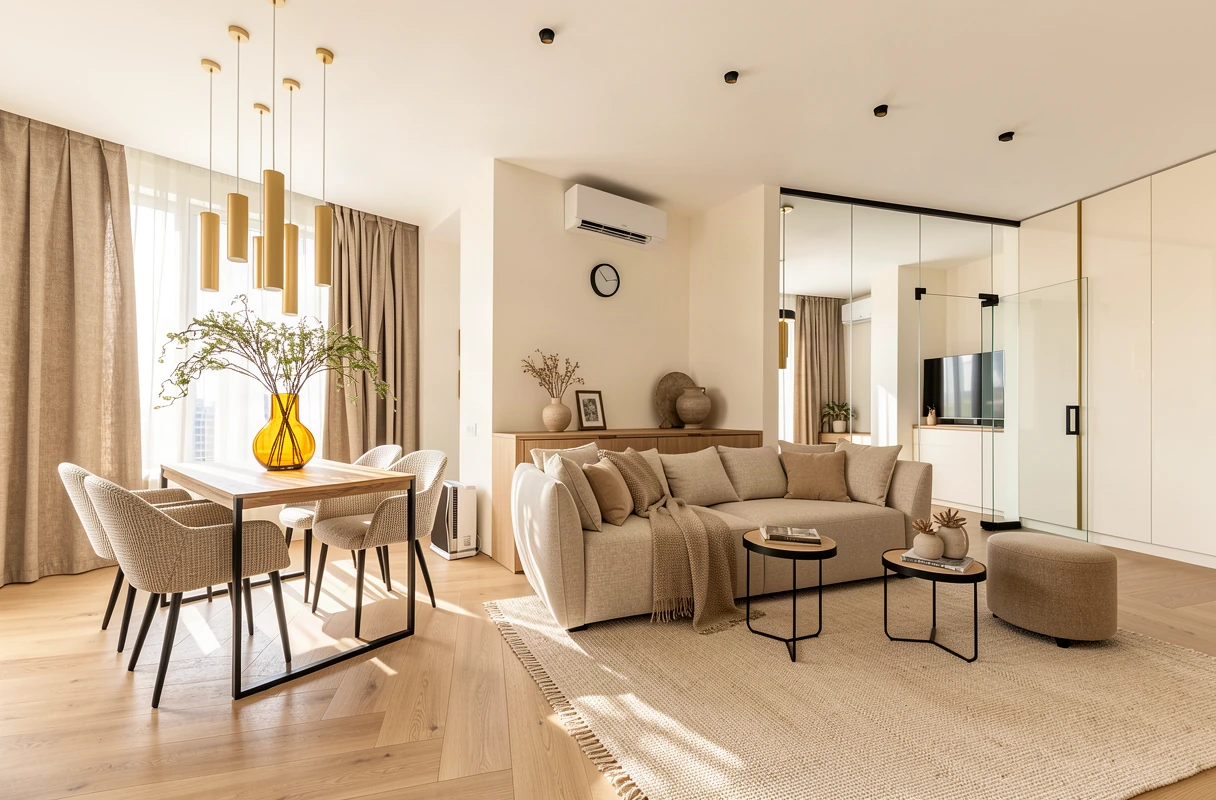
01 / Set the camera first
Choose the composition before working on finishes. Keep important openings and objects visible, crop toolbars, and make sure the view says something useful about the project. Changing the angle and the design at once makes versions harder to compare.
02 / Check the layers
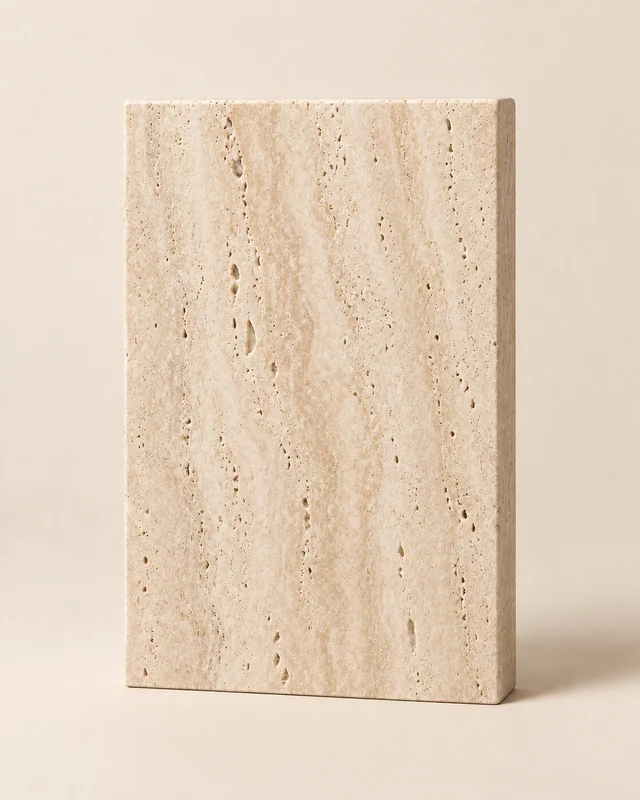
Suggested surfaces are a starting point. Confirm their names and targets before assigning materials. A wall and a cabinet front can look similar in a flat screenshot. Correct an unclear target or add a missing surface rather than assuming every suggestion is right.
Choose a finish only for the surfaces you want to change. A material assignment guides the generation; it is not an exact pixel selection.
03 / Make one instruction count
Be specific about both the change and what should remain. For example: ‘Use warm oak on the left wall. Keep the floor and shelving as they are.’ Send the message, review the saved instructions, then generate.
If you are asked to clarify, answer before generating. A longer prompt is not automatically a better one; unrelated changes make the result harder to evaluate.
04 / Separate light from materials
First establish a material direction. Then try another lighting choice or describe the atmosphere you want. Keeping the same source and changing one decision helps you understand what improved the image.
05 / Review before presenting
- Compare openings, geometry, furniture and important objects against the source.
- Look closely at texture scale, repeating patterns, edges, reflections and joins.
- Choose the strongest version before upscaling. More pixels do not correct a design error.
- Keep your original drawings as the authority for measurements and construction details.